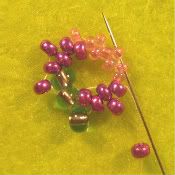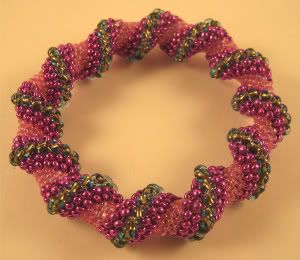
Not one to waste precious Fireline, I decided to continue with the Cellini spiral, and create a bangle bracelet after my photographs were in the bag. Once the initial steps were complete, and the spiral was starting to take shape, I noticed something interesting about the tube in front of me.
It looked like a ring.
I’ve never been much of a fan of beaded rings, but something about the gradual curve of the blue 6o beads really caught my eye. I instantly pictured wearing something like it on a finger.

The Inspiration:
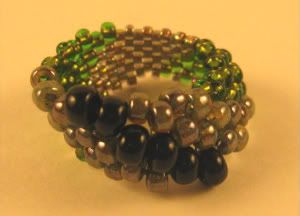
After my Cellini bangle was complete, I set out to find a way to make a spiral peyote tube large enough to wear as a ring. I wanted to maintain the single row of 6o beads in the center, for it was these beads that created the jewel-like appearance that I wanted.
I considered simply increasing the number of 10o’s, to create a wider tube, but I wanted a bit more flexibility if any shaping or tapering would be needed. I decided to add a second row of 10o’s, with 15o’s making up the center of the Cellini tube.
The Beads:
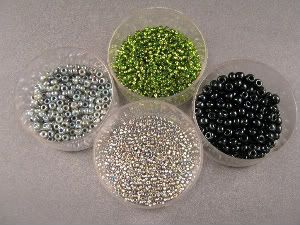
I was pretty frustrated by the fading of the purple galvanized beads in the bangle. They stood up to the wear from my hands, but flaked from constantly rubbing against the table as I stitched. My stash of 8o seed beads is pretty low at the moment, and my only option for matte beads were the Picasso green Toho’s leftover from my RAW necklace.

To match the olive colored 8o’s, I chose 15o Toho's in Gold Lined Black Diamond, copper lined green 10o’s, and opaque black 6o’s. Once again, the combination is somewhat snake-like, but I love the subtle sparkle of the lined beads against the neutral opaque beads.
The Beadwork:
I wouldn’t call this a failed attempt, exactly. I’m actually quite happy with the ring that I made. The only trouble is that it’s unlikely to fit anyone but me.

As predicted, I ended up using the 15o beads to taper the tube and shape it to my finger. This means, of course, that it will fit only on the finger I was working with, and no other.
This might be the first time I’ve ever made something just for myself. So it’s back to the drawing board, as far as Cellini rings go, but at least I got a nice bauble out of it!

Beautiful bracelet & ring. I am hopeless at sizing rings for anyone other than myself. The only people I make rings for are my two friends, cos I know if it just fits over the knuckle on my index finger it'll fit their middle ones!It took a lot of trial & error to figure that out though, lol.
ReplyDeleteGORGEOUS as usual!!! I just love the ring, so cool!!
ReplyDeleteRing sizing is tough. The other trouble with stitched rings is that they will inevitable stretch just enough to make them too wiggly.
ReplyDeleteThey are really fun to make though!