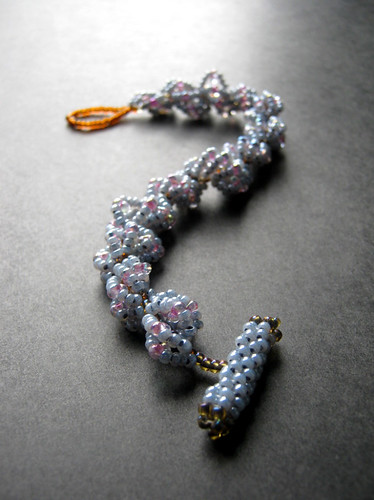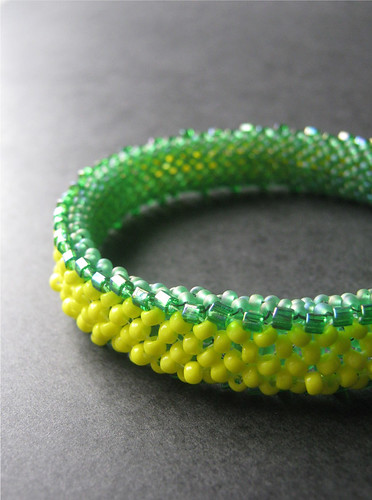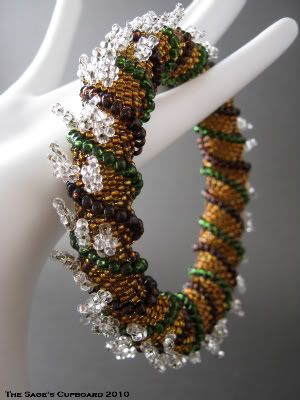
Basic brick stitch isn’t a technique that is often used for jewelry. The flat beadwork looks almost identical to flat peyote or gourd stitch, but it isn’t quite as versatile, unless it is done free form. These pieces always look amazing - they are all at once structured and organic. The circular variation is often used to create a base for free form brick stitch, and makes it easy to incorporate large focals into the design. For a great example of circular and free form brick stitch at work, have a look at
Ann Burke's Lapis Cuff.
How to Embellish with Circular Brick Stitch:
Any round bead is a great for trying out circular brick stitch, where seed beads will be added in rings. You can work from left to right, or right to left -whichever is more comfortable for you. These instructions move from right to left.
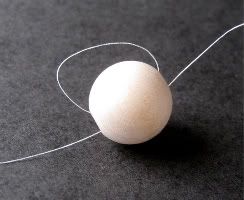
Begin by threading a needle with a comfortable length of your favorite thread, and stitch up through your round focal. Hold the bead in place on the thread, and stitch up in the same direction again. When you pull the thread snug, a tight loop will form on one side.
Stitch up through the bead again, and allow the new loop to rest on the opposite side of the bead as the first. Repeat once for each side, so that you have a pair of ‘bridge’ threads all the way around. If your focal has a design that you want to show through, make sure that these threads do not overlap it.
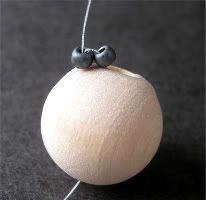
Pick up two seed beads. Bring the needle under the base or bridge threads, moving towards yourself. Pull the thread snug, and nudge the beads so that they are sitting neatly, side-by-side.
Stitch up through the second bead added, taking care to make sure that the working thread does not pass behind any of the threads in the last stitch. Keep the needle as close to you as possible as you stitch.
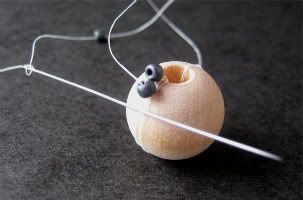
Pick up one bead, and bring the needle under the base thread again. Pull the thread snug until the new bead falls into place on the row, and stitch up through it again. Repeat this step, adding beads all the way around the focal. Connect the first and last bead with ladder stitch so that there is a bridge thread between them on the top and bottom. Exit from the top of the first row.
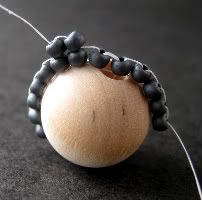
To begin another row, pick up two beads, and bring the needle under the nearest bridge thread in the previous row. Continue stitching as before, adding one bead at a time with brick stitch. As you work, the number of beads needed for each row will vary. Unlike in flat brick stitch, some bridge threads will need to be used twice, so that there are no large gaps between stitches.
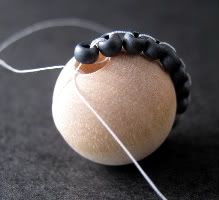
Tip: If you are using a bead with holes that are larger than your seed beads, you can fill in the gap by adding beads with
ladder stitch until the bridge threads can be reached again.
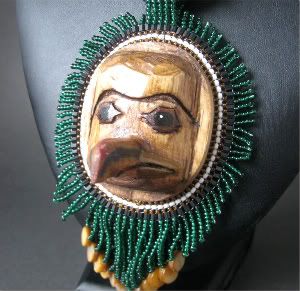
When using circular brick stitch to create beaded beads or components, you can use a variety of stitches to hide the bridge threads of the final row. Simple picots or fringe look very nice. For a smooth finish, I like to use square stitch.
This technique has endless possibilities for all kinds of projects, and is a fun way to use up leftover round beads. Have fun!
Copyright 2010 Inspirational Beading
